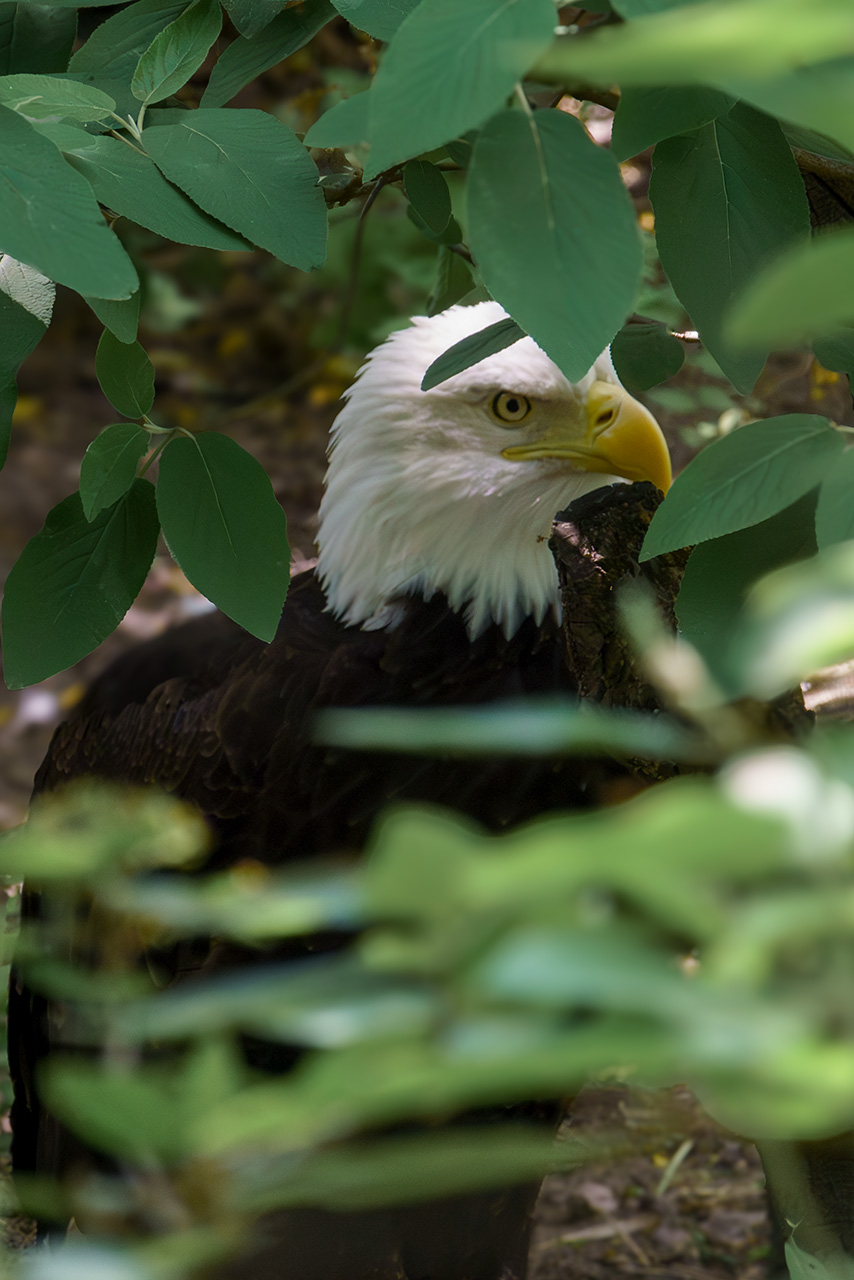

Gradients are the secret sauce of digital light to me. I know, digital light seems like an odd choice of words. But I don’t know what better words to use. Because that is how I often use them. I use them to recolor things. Enhance color. Suppress color. Or, add and take away light. All of which I did here. Have a look at this side-by-side. to see what I mean.
Before I go any further, this image was never a “keeper” for many reasons. Not the least of which was the missed focus. This is also not a complete edit. It’s a scratch pad experiment.
A lighting experiment. Which brings me to ’round to gradients. My goals were:
- Pull the eagle up from the shadows
- Relight the image to create more direct light on the leaves
- Draw the viewer to the center of the image faster
- Further suppress the outer-edges to make the eagle stand out more
- Try not to lose all the feather detail in the process
Tools and Steps
Once I got out of Camera Raw I started by using a a blue and ivory radial gradient to brighten the eagles face and cool the leaves in the foreground. Then I applied a solid color (#d18c47) layer add some warmth to where the sunlight naturally fell on the eagle’s head and on the visible ground.
Lastly, I made a stamped layer and opened it in Camera Raw as a filter. Within Camera Raw I used vertical gradient masks to adjust exposure and contrast to create the beam of light effect.
Final thoughts
Not bad for a 4 layer edit. I think I achieved the goals.
In hind-sight, I probably could have created the beam effect in Photoshop. It might have been a little bit easier in Camera Raw. But using Camera Raw as a filter is destructive. Whereas if I had used adjustment layers in Photoshop. The whole edit would have been non-destructive. Which is ideal.
